
Tips for Night Photography
I find myself shooting in the dark somewhat often. Typically, it seems like after I get everything done for the day, I have so little daylight left to just wander and shoot, if any at all.
It certainly has its challenges, but I find that with a little adjustment to my shooting techniques, the experience is quiet rewarding. I particularly enjoy doing night cityscapes. There is often a subdued atmosphere when creating images of a sleeping city. There isn’t a bunch of passers-by awkwardly gawking at you while you compose, making it a treat for introverts. Once the sun goes down, you work with darkness and artificial lighting; no trying to frantically dance your exposure around the small window that is “Golden Hour”. Dark is dark.
I typically find myself falling into two camps: handheld shooting with open aperture, slowest feasible shutter speed, higher ISO and abundant artificial lighting. Or tripod shooting with long shutter speeds, tighter aperture, and modest ISO. Both have different purposes.
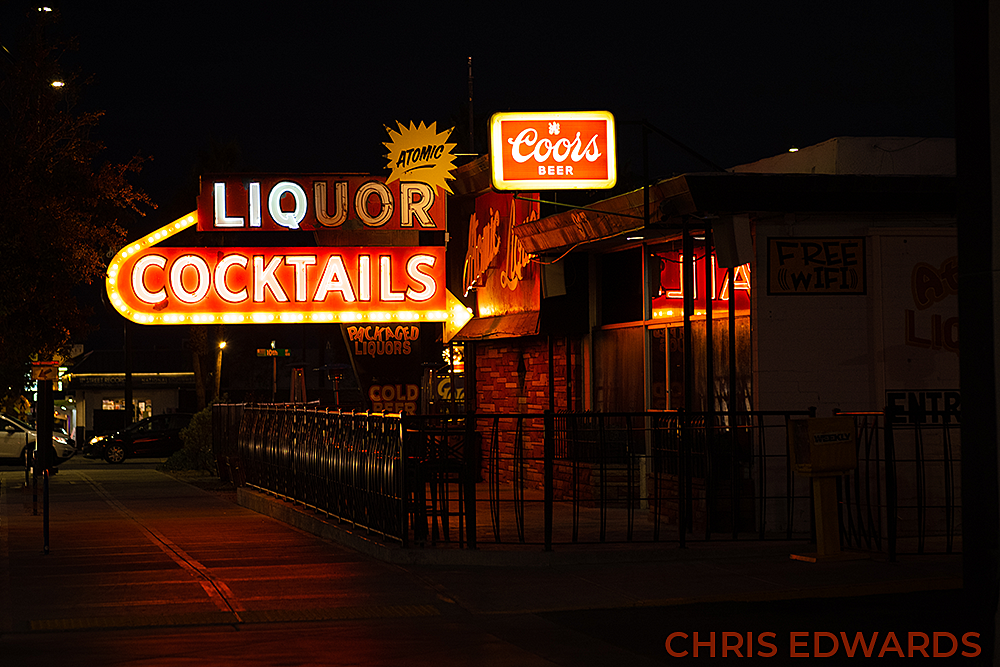
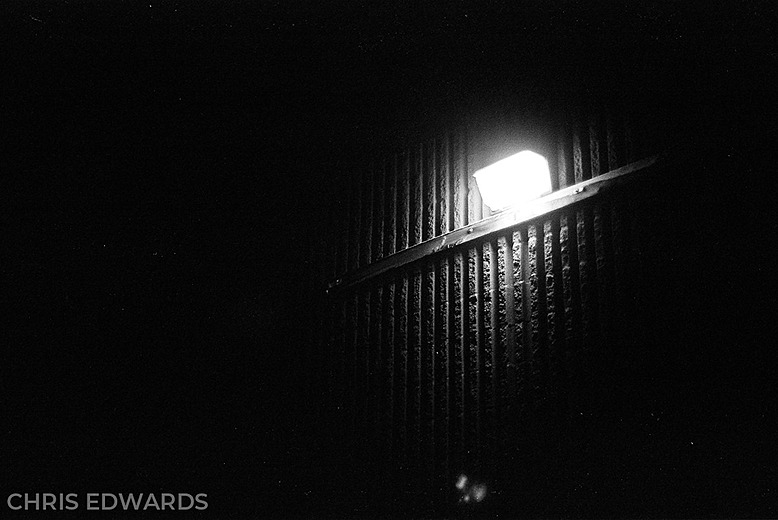
When shooting handheld at night I often create images in the presence of man-made lighting. My subjects are often harshly lit alleyways, neon signs down empty streets, and the occasional “noir’-esk portrait. Shooting handheld presents its own questions such as “How slow is too slow?”, “Why won’t my lens focus?”, and “Is this image going to be too grainy?”. I will tell you how I work around these issues.
I shoot around 1\60 of a second, sometimes 1\30 if I can and my subject can keep still enough. What helps with the shutter speed is a large aperture, I usually stay between f/1.4 to f/2.8. Now this makes nailing focus quite hard, both in manual and in auto. My method for focusing is to find an area in the scene with high contrast that is the same distance as my subject: a textured brick wall, a well-lit lamp post, the glasses on my subject’s face. I also make use of the focus lamp on some digital cameras. Finally, I shoot between 1200 and 3200 ISO. The results may be a bit grainy but often this can add character to the image, especially in black and white or on film.
The tripod and long exposure method is great for creating images of night skies, large landscapes and light trails. It too comes with its own unique challenges and benefits.
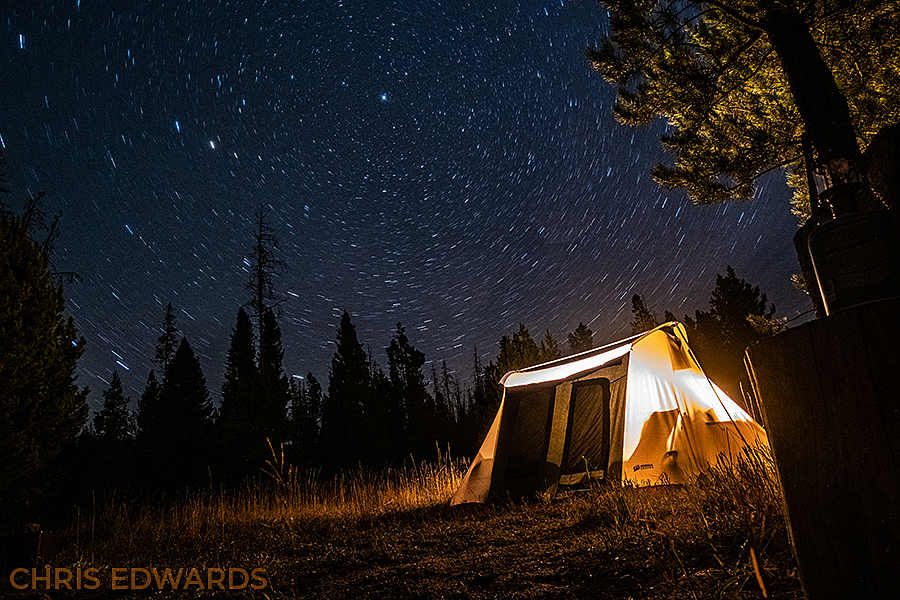
To start, I have used anywhere between a 15 second to a 20-minute shutter. This allows far more light to hit the sensor but makes any movement in the camera appear in the image, ruining it all together. This can be mitigated by using a delayed shutter or remote shutter to eliminate camera shake from hitting the release. Focus becomes challenging as it is nearly impossible to see through the viewfinder or pick up any contrast for autofocus. I negate this issue by manually focusing out to infinite. Then I use a lower ISO such as 800-1200 since we are using an extremely long shutter. This will keep your stars from getting mixed in with the image noise.
While shooting at night comes with its challenges, it truly is an amazing way to show the mundane in an entirely new light.
-Christopher Edwards